Sunday, September 29, 2013

Once Upon a Time Food Series and Disney Villains Evil Queen Look Book

Fact: I am a big, nerdy Disney lover and a reluctant, but big fan of Once Upon a Time.


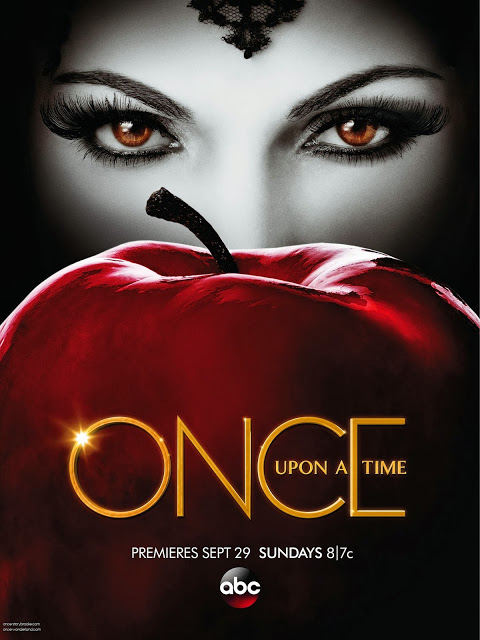
If you also watch Once Upon a Time then you’re likely aware that season 3 premieres tonight. Peter Pan is my favorite book, movie and play within and outside of Disney so I’ve been freaking out over the sneak peeks!


It’s clearly going to be a visually stunning storyline!

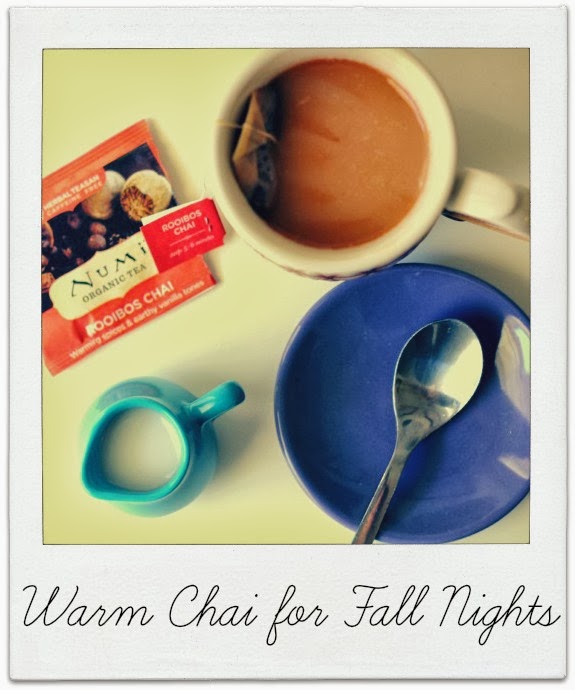
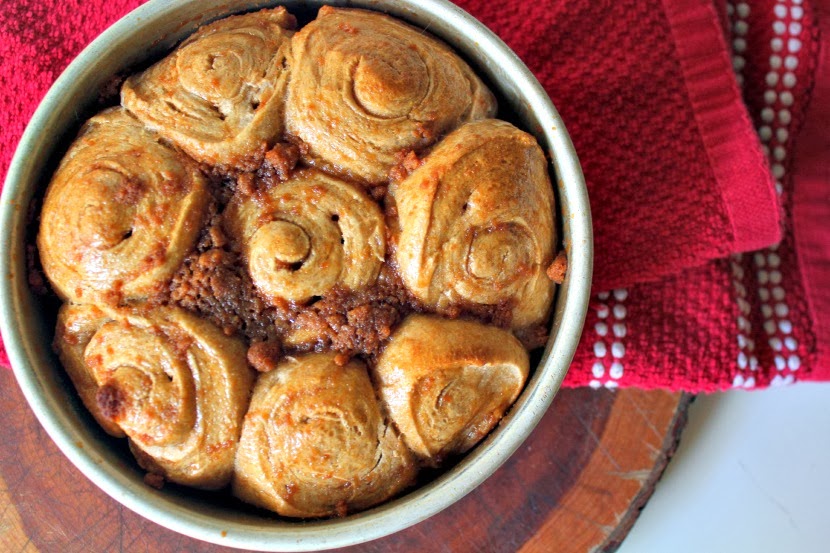
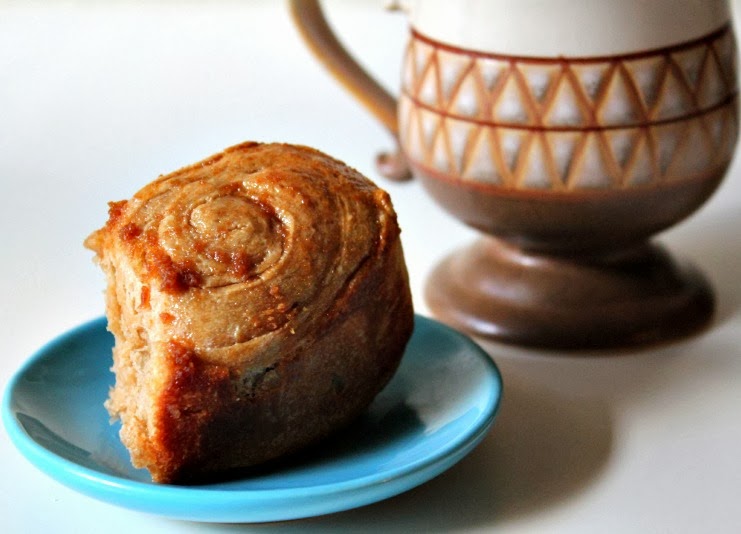
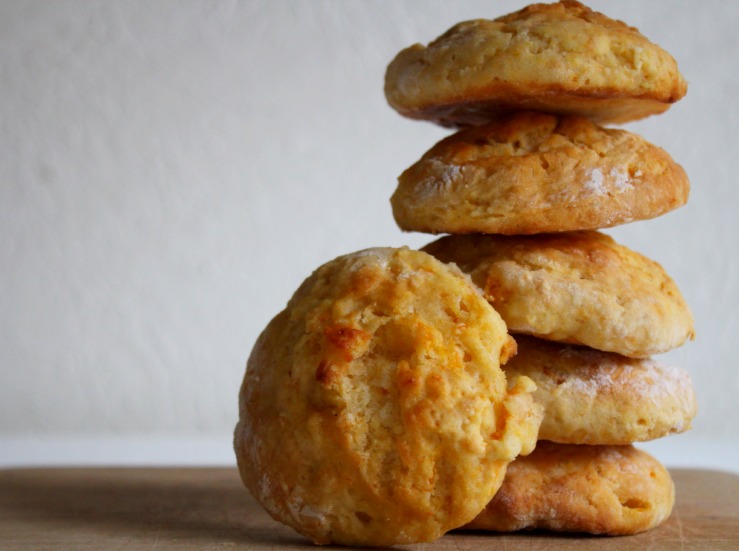
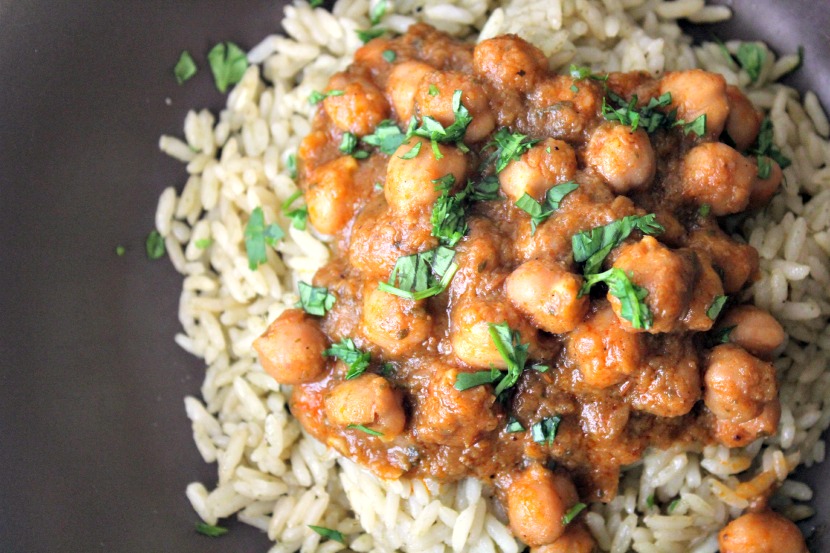
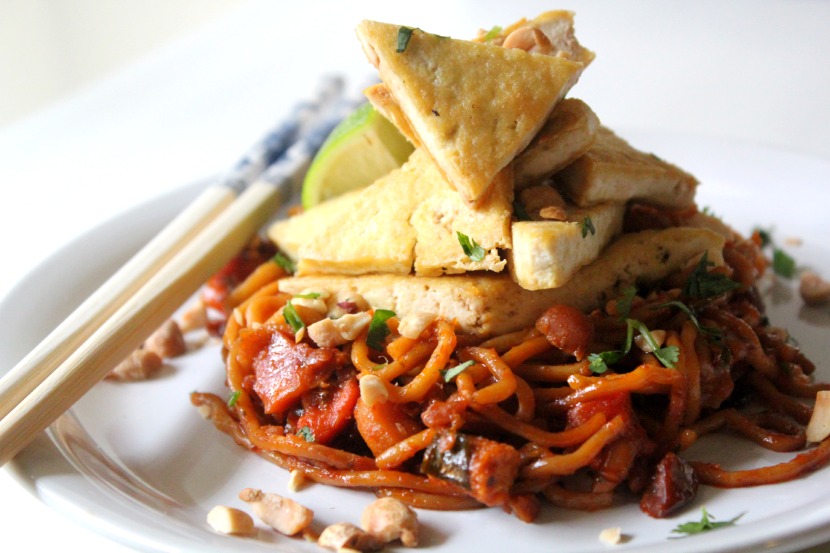
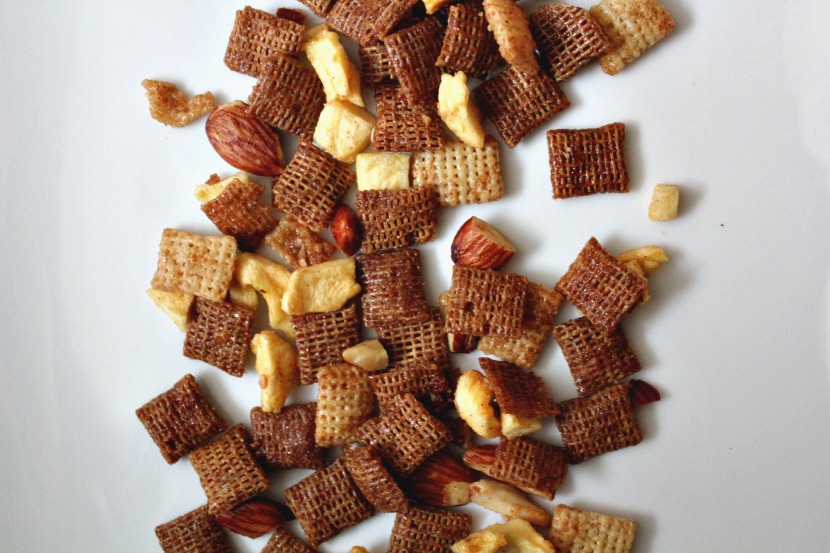
Per my usual, I wanted to incorporate food into this fun. It seemed fitting that I should plan some really delicious Once Upon a Time inspired treats to feature this week. Here’s a peek at a few things to come:


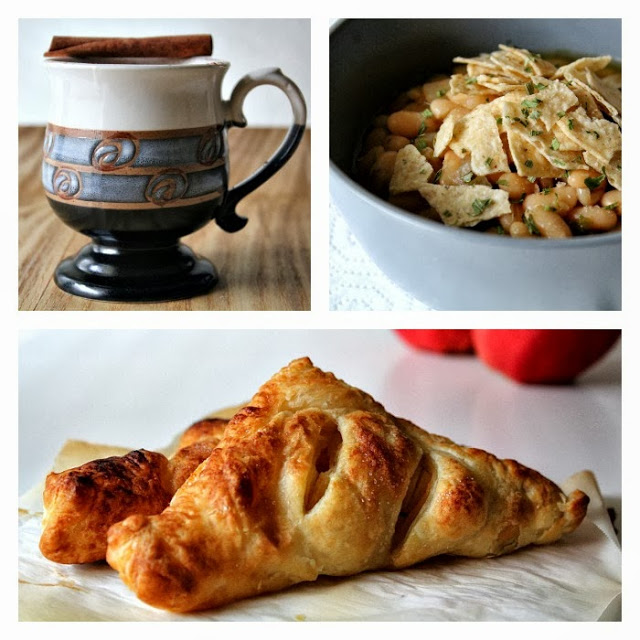
Cinnamon Hot Chocolate – Snow White Chili – Apple Turnovers

In other very timely news, e.l.f. has released their 2013 Disney Villains Look Books.


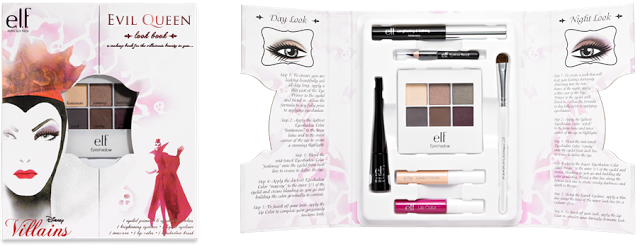
All four sets are available exclusively at Walgreens for $9.99.
The Look Books this year feature The Evil Queen, Maleficent, Ursula and Cruella De Vil. My favorite princess/villain combo is Snow White and the Evil Queen so that was the set I went for.


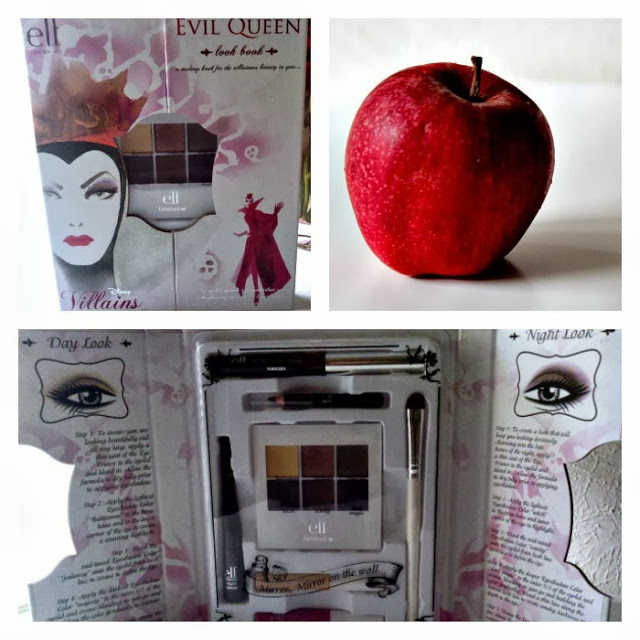
The Look Book comes with:

  • Lengthening and Defining Mascara
  • Black Eyeliner Pencil
  • Black Liquid Liner
  • Eyeshadow Brush
  • Eyeshadow Primer
  • Lip Color
  • A Six Shadow Palette (Huntsman, Jealously, Majesty, Witch, Vanity, and Dark Magic)

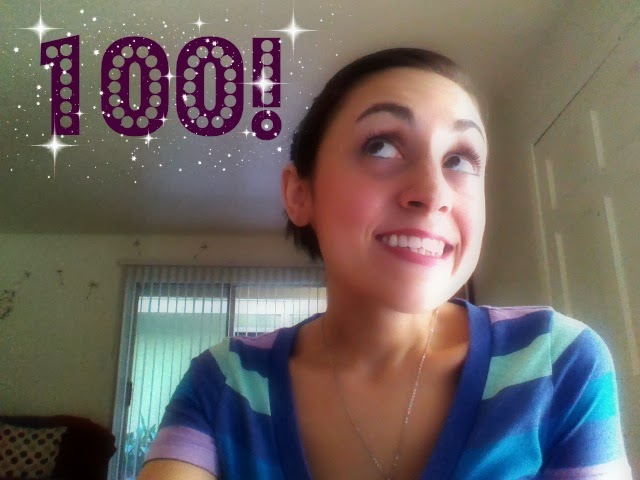
I tried the Day Look this morning and I really like it! These selfies aren’t the best, but they should give you an idea of the look. The top left picture is sans makeup (nevermind the super cool look on my face) while the other two feature the Day Look.


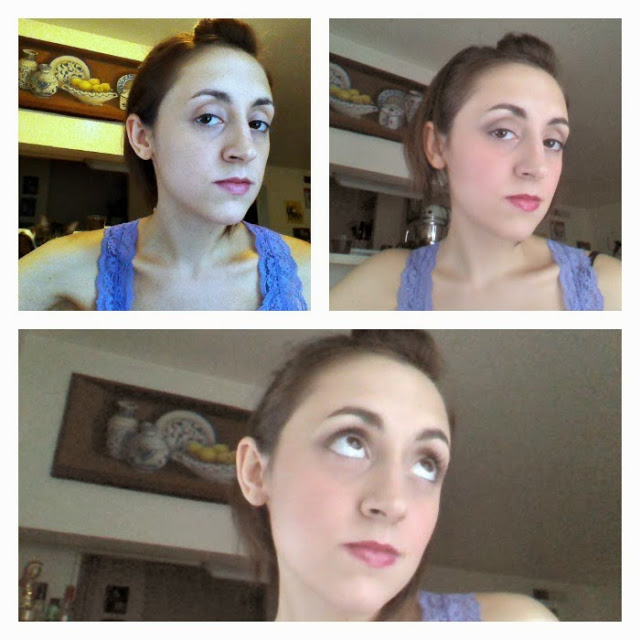
The shadow is a lot more pigmented than I was expecting:


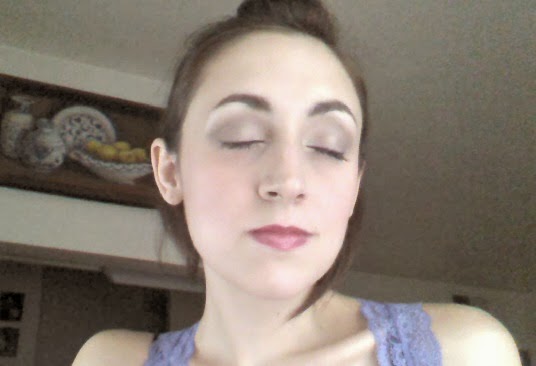
Don’t you love that lip color?? I love it.

Come back this week for my Once Upon a Time food series! There may be a lasagna involved.


Thursday, September 26, 2013

Warm Chai for Fall Nights and Christmas in September


One thing I love about cool nights is warm drinks. I really enjoy sipping sweet and spicy chai after dinner, but the caffeine definitely keeps me up. To combat this I started drinking caffeine free Rooibos Chai. I dress it up with warm milk, spices and vanilla to make it extra cozy!

Warm Chai for Fall Nights
Ingredients:
  • 1 rooibos chai tea bag (or any caffeine free chai)
  • 1/2 cup boiling water
  • 1/2 cup non-dairy milk
  • 1 teaspoon sweetener
  • 1/4 teaspoon ground ginger
  • 1/2 teaspoon vanilla
1. Put the tea bag and boiling water in your favorite mug to steep according to the tea’s instructions.
2. While the tea steeps, combine the milk, sweetener and ginger in a small saucepan. Warm the milk over medium heat until it’s hot through and through (not boiling). Take it off the heat and add the vanilla.
3. Add the warm milk to the tea once it’s finished steeping. Give your chai a nice stir and enjoy.

The new and very official Christmas Post button.

Tonight I’m drinking my chai while working on the Countdown to the Organized Christmas CountdownI know Christmas planning in September seems mad, but this system is pretty incredible. Read here if you need an explanation! 

The August task was to plan Christmas crafts, and while I’m not much of a crafter, I do have one project that I want to do this yearI know a family that would love this Instagram art piece. I’ve already started gathering pictures from their Instagram 🙂

September’s task is to get ready for gift giving. We’re already on it! I’ve got my Master Gift List ready, and a few gifts have already been purchased. Yay!

The Organized Christmas Countdown officially starts in late October so I’ll spend the next few weeks completing my Christmas PlannerOctober is very The Nightmare Before Christmas-ey in our home. Very Halloweenish with a bunch of Christmas thrown in. 

It may seem early, but it’s time to start pondering the holiday seasons to come. Even if you’re not ready for Christmas, Halloween is just around the corner!

Sunday, September 22, 2013

Easy Biscoff Honee Buns + 100th Post


This is my 100th post! I made this celebratory picture just now in my true form. No make up retouches, no cute cat distractions. You know….to show how real I am.

I’ve had such a great time coming into my own here. To all those who have ever commented (ever!), I really truly appreciate you with all my heart. Thank you so much for reading and sharing your thoughts on my little musings and recipes. And if you’ve never commented, I still love you! Thank you for reading.

Since this blog is proof that my mind is always on food, I present you with another recipe adapted from The Winnie the Pooh Cookbook: Easy Biscoff Honee Buns. These are crazy easy and adaptable. The original recipe calls for nuts, but I was in a mood and decided that crushed up Biscoff cookies was (at that moment) more desirable. It was a good choice.


Easy Biscoff Honee Buns
Adapted from Easy Honey Buns from The Winnie the Pooh Cookbook
Ingredients: 
  • 1 package of frozen or refrigerated dinner rolls (or make your own – about 16oz worth)
  • 2 biscoff cookies, crushed (or 2 tablespoons chopped nuts)
  • 2 tablespoons Bee Free Honee or agave nectar
  • 1 tablespoon non-dairy milk
1. In a small bowl combine the crushed cookies (or nuts), honee or agave nectar and milk. Set this mixture aside.
2. Bake the rolls according to the package or recipe directions. Five minutes before they are done pull them out of the oven and brush the nut mixture evenly over the tops.
3. Return the rolls to the oven to finish baking. 
4. Serve warm with a hot cup of coffee or tea. 


“It’s very, very funny,
‘Cos I know I had some honey;

‘Cos it had a label on, 

  Saying HUNNY.” – Winnie the Pooh

Thursday, September 19, 2013

Butternut Squash Biscuits


My husband and I are big biscuit lovers. While we try not to polish off a batch in a day, our attempts are often futile. However, things get a little safer when butternut squash is in season. I replace most of the fat in my biscuits with roasted and pureed squash. This makes them lower in fat and provides a delicate sweet depth of flavor. Obviously these are in regular rotation for Fall breakfasts.

Butternut Squash Biscuits
Adapted from Cream Biscuits in the Art of Simple Food by Alice Waters
Ingredients:
  • 1 1/2 cups all purpose flour
  • 1/4 teaspoon salt
  • 2 teaspoons sugar
  • 2 teaspoons baking powder
  • 1/4 cup butternut squash puree (instructions below)
  • 2 tablespoons Earth Balance Natural Buttery Spread
  • 3/4 cup non-dairy milk 
1. Preheat your oven to 400. In a medium bowl combine the flour, salt, sugar and baking powder.
2. Add the squash puree and Earth Balance to the flour mixture. Cut them in with your fingers or a pastry cutter until they are the size of peas.
3. Take 1 tablespoon of milk out of the 3/4 cup and set aside. Pour the rest of the milk over the flour and stir gently with a spatula until it comes together.
4. Pour the dough onto a floured surface and gently knead it a few times until it’s not super sticky. Roll it out to 3/4″ thick and cut out your biscuits. Repeat until you’re out of dough.
5. Brush the biscuits with the remaining tablespoon of milk. Bake for 15-17 minutes until the tops are golden.

Butternut Squash Puree
1. Preheat your oven to 350. Peel your butternut squash, remove the seeds, and cut the flesh into 1 inch cubes. In heavy-bottomed skillet or a baking sheet lined with parchment paper bake for 25-30 minutes until soft. After cooling for about ten minutes, transfer the squash to a food processor and puree.

Sunday, September 15, 2013

Sunday Wind Down 1.2

This week was super busy. We started by turning our dining room into an office. I resisted the idea for so long because our home has a very specific look. The last thing I wanted to do was disrupt our groove with a big ole ugly office. The office had to be beautiful or it wasn’t happening. I spent hours combing through Ikea’s website to come up with a plan. We shopped, my husband built, and in the end we love it. It’s spacious, beautiful, and adds to our home’s aesthetic. Plus its nice not sharing our bedroom with work!


Now I can eat breakfast on my desk:


And pet my cat as I work:


Other than enjoying our new office, we really just relaxed into our routine.

I listened to this on repeat:


And my husband bought me the most recent VegNews! 


I think it was a hint for me to make him more French food. Can do!

While we’re already enjoying Fall foods, we’re going enjoy these last few days of Summer (even though it will be hot here for another two months). We’re prepping for one more Summer BBQ at the end of the week, and after that we’ll be ready to Actually Officially welcome Fall. Can’t wait!

Saturday, September 14, 2013

USC T-Shirt Scarf

We’re two games into the college football season (about an hour away from the third) and my team is really really struggling. USC fans are used to their team playing exceptionally well so there’s like this feeling of crisis going on at our local game watches. We lost the game last week to kind of a silly team, and morale is low low low. 

I love them though and my spirit is still going! They’re Trojans and I’m excited to support them this season. I wanted to do something fun to celebrate the start of the 2013 season so I repurposed some unused USC t-shirts. I made a scarf!


Forgive my photography! I’m used to food, not clothes.

I could never throw away my old USC shirts knowing that t-shirt crafts were plentiful. I perused Pinterest and found this tuturial from kevinandamanda.com. Perfect! 

Game Day Scarf
  • 2 oversized t-shirts
  • scissors
  • rulers or measuring tape

Go to the original tutorial and read that. I don’t craft very often, and my eyes tend to glaze over instructions. I skimmed the directions and followed the pictures. I highly suggest actually reading the original tutorial, but for the sake of another perspective, here is what I did:
1. Cut the hem off of the bottom of the first shirt and set it aside for later. Cut off the sleeves and set them aside as well.  
2. Starting from the bottom of the shirt up to the cut off sleezes, cut 1 1/2″ strips short ways so that you get 10-12 long loops. Stretch the loops out to get them to curl in on themselves. Wrap each loop around your fingers to make ringlets. Set the ringlets aside. 
3 . Take your reserved hem and cut it into 5″ strips. These will be used to tie the ringlets together. 
4. Repeat steps 1 – 3 with the other shirt. I was able to get about 20 ringlets and 19 hem strips between the two shirts.  
5. Use the hem strips to tie the ringlets into a long chain.  
6. YEAH SCARF!


Ignore that dirt on my floor! It’s 1000 degrees outside, but I’m wearing my scarf during the game. Maybe it’ll bring some luck!

Thursday, September 12, 2013

Tasty Bite Review

My husband and I have very full schedules and often look longingly at convenience foods for quick meal options. We very rarely give in because we know that anything we cook from scratch is going to be a lot yummier and healthier than anything packaged. Still though…sometimes…..the ease.

One brand of products we often flirt with is Tasty Bite. They’re an Asian food company specializing in Indian and Pan-Asian cuisine. When I got an email from Tasty Bite offering me some samples, I jumped on that right away! We were ready to try these products.

I’m not going to lie, we went into this Tasty Bite Tour with apprehension. While boil in a bag meals often boast quickness with good taste, the concept seemed strange. But hey, lunch in well under 10 minutes? Yes please.


The first products we tried were the Punjab Eggplant and Ginger Lentil Rice. We put them together for a full meal and the verdict was really awesome. Flavorful and aromatic with a great firm texture on the rice. I garnished with meal with some cilantro to give it a fresh boost, but honestly it tasted fresh and light on its own. We both agreed that this meal was truly restaurant quality. Great start to this tour!


The next meal we tried was the Channa Masala over their Thai Lime Pilaf. I was concerned that the limey coconuttiness of the rice might not pair well with the Channa Masala, but it was excellent. My husband raved about the Channa Masala while I was all about the Thai Lime Pilaf. Another hit!


Asian Noodles: Pad Thai

Our last stop on this tour was the Pad Thai. I beefed (tofu’d?) it up with some pan fried tofu, extra peanuts and cilantro. The noodles were very strongly flavored without a lot of delicacy, but who really expects delicacy from packaged noodles? For a quick lunch this is definitely a good option. While the noodles are a bit strong on their own, a full bite of noodles with the accompanying veggies will balance them out nicely. This dish was really quick and tasty enough to feel like an indulgence.

All in all we’re totally down with Tasty Bite! They are filling, inexpensive, and have a ton of vegan options. We loved giving them a go, and are especially happy to know that we can indulge in some ease without any sacrifice to taste or health.

Disclaimer: I received these products for free, but the idea for this review and the opinions belong to me. I did not receive compensation.

Tuesday, September 10, 2013

Cinnamon Apple Chex Mix


I’m so excited to share this recipe for Cinnamon Apple Chex Mix! Chex Mix is quintessential Fall food for me so making a cinnamon apple version was a no-brainer.

I’ll admit that I got this recipe right off a box of chex, but I did change a few ingredients to make it vegan and simple. If you haven’t been able to get into the Fall spirit, these can definitely help!

Cinnamon Apple Chex Mix
Adapted From Cinnamon-Apple Chex Mix from Chex Cereal 
Ingredients:
  • 5 cups Chex cereal (I used about 4 cups wheat and 1 cup rice)
  • 1 cup almonds, lightly chopped (leave big chunks)
  • 1/4 cup Earth Balance Natural Buttery Spread
  • 1/3 cup packed brown sugar
  • 2 tablespoon Bee Free Honee or agave nectar 
  • 1 teaspoon ground cinnamon
  • 1 cup apple chips, chopped
1. Preheat oven to 300 degrees. In a large bowl combine the chex and almonds. Set aside.
2. In a small saucepan over medium heat, combine the Earth Balance, sugar, Honee, and cinnamon. Stir constantly until it just comes to a boil. Remove from the heat.
3. Pour the sugar mixture over the chex and carefully stir to mix. Pour the chex mix over onto a lightly greased baking pan and spread it out completely. 
4. Bake the chex mix for 30 minutes, stirring half way through (after 15 minutes).
5. Mix in the apple chips and bake for an additional 15 minutes.
6. Remove the mix from the oven and let it sit for at least 30-40 minutes before digging in. It takes a while to cool, and being burned by hot sugar is not fun!
7. Store in an airtight container.

Sunday, September 8, 2013

Sunday Wind Down 1.1

As always, we had such a busy week. 

Last Sunday I threw my Mother a 50th birthday party. I worked day and night for weeks on this party. Everything from wine labels, to wine charms to coffee cups were personalized.


Look at these little chocolate chip cookie shooters! There was a carafe of almond milk next to them for all shooting and dunking needs. Too cute.


I spent the rest of the week cleaning up and catching up at work while my husband went back to school (he teaches!). I always prefer to have him home with me, but going back to work re-introduced us to our Fall schedule. It’s nice to get back in the groove of things.

When Friday hit we went to dinner with my family at Phara’s where we sat outside in the gorgeous outdoor gazebo. It was really hot, but also charming. These are our “hot, but charming” faces. I don’t know how to look into cameras.


On Saturday night we went to the USC game watch. The game watch was amazing as always, but my Trojans are killing me. They may be struggling, but they’re still my team and my spirit lives on. I pulled some over-sized USC t-shirts out of our closet and made myself a scarf for the next game.


Fight On, don’t Cry On! Crafts are the perfect way to keep from crying over football. 

I’ll post the how-to for this type of scarf this week. It took 30 minutes, provided a new accessory, and made room in my closet. Best craft ever!

XOHV

Thursday, September 5, 2013

Homemade Pumpkin Pie Pop Tarts


I take pumpkins very seriously in the Fall. Pumpkin beer, pumpkin candles, pumpkin coffee, pumpkin bread, pumpkins around my house, pumpkins on my porch, pumpkins 4 life! When I found this Toaster Pastry Press on super clearance a few weeks ago, I knew that I had to use it to make pumpkin pop tarts. I just had to. 

These are so good and are the perfect introduction to this year’s Fall baking. The crust is buttery and flakey while the filling is creamy and warmly kissed with brown sugar, cinnamon and ginger. The whole thing is topped with a sweet glaze consisting of Fall’s best spices. They are kitschy enough to be fun while sophisticated enough be enjoyed with a hot cup of coffee.

Pumpkins, I’ve missed you.


Homemade Pumpkin Pie Pop Tarts
Ingredients:
Crust:
Adapted from Ina’s Perfect Pie Crust
  • 3 cups all-purpose flour
  • 1 teaspoon kosher salt
  • 1 tablespoon sugar
  • 1 1/2 cups Earth Balance Natural Buttery Spread
  • 1/3 cup Earth Balance Natural Shortening 
  • 6 to 8 tablespoons ice water
1. Add the flour, salt and sugar to a food processor and pulse it a few times to combine. Add the Buttery Spread and Shortening to the flour and pulse until the Earth Balance is the size of peas. Slowly add the ice water until a dough forms. Dump the dough on a floured surface and shape it into a ball. Wrap your dough in plastic wrap and place it in the fridge until you’re ready to use it.

Filling:

  • 1 1/2 Tablespoons cornstarch
  • 2 Tablespoons non-dairy milk
  • 1/4 cup brown sugar
  • 1 heaping cup pureed pure pumpkin
  • 1 teaspoon vanilla extract
  • 1 teaspoon cinnamon 
  • 1/4 teaspoon ground ginger
  • 1/4 teaspoon ground nutmeg
  • 1/8 teaspoon ground allspice
1. In a medium sized bowl mix together the cornstarch, milk and sugar.
2. Add the rest the ingredients to the cornstarch mixture and stir to combine.

Tarts:
1. Preheat the oven 350. 
2. On a floured surface, roll the pie dough out to about 1/8 inch thick. Not too thin, not too thick.
3. Cut out your desired shape into even portions until you’re out of dough. (I got about 16 pieces with the pastry press.) Add a small amount of the filling to the middle of one of your cutouts, and top it with another cut out. Pinch the edges together and brush the top with some non-dairy milk. Repeat the process until you run out of dough. You will most likely have leftover filling. Save the leftovers to add to oatmeal! 
4. Bake your tarts on an un-greased baking sheet for 20-30 minutes or until they’re brown around the edges. Start checking on them regularly after about 10 minutes. Pie dough can be very moody! 
5. Let the finished tarts rest on a cooling rack until they are completely cool. At least an hour.
6. While your tarts cool make your glaze:
Glaze:
  • 1 cup powdered sugar
  • 1/2 teaspoon cinnamon
  • 1/4 teaspoon allspice
  • pinch nutmeg
  • non-dairy milk
1. Combine the powdered sugar, cinnamon, allspice and nutmeg. Slowly drizzle in the milk until it reaches a thick and syrupy consistency.
7. Carefully spread the glaze over the tops of your tarts. Allow them to completely harden before storing.