

Disclaimer: Housevegan.com contains Amazon Affiliate links. Please see the bottom of the left sidebar for HV’s Amazon Affiliate disclosure, or feel free to read this site’s Disclaimer.
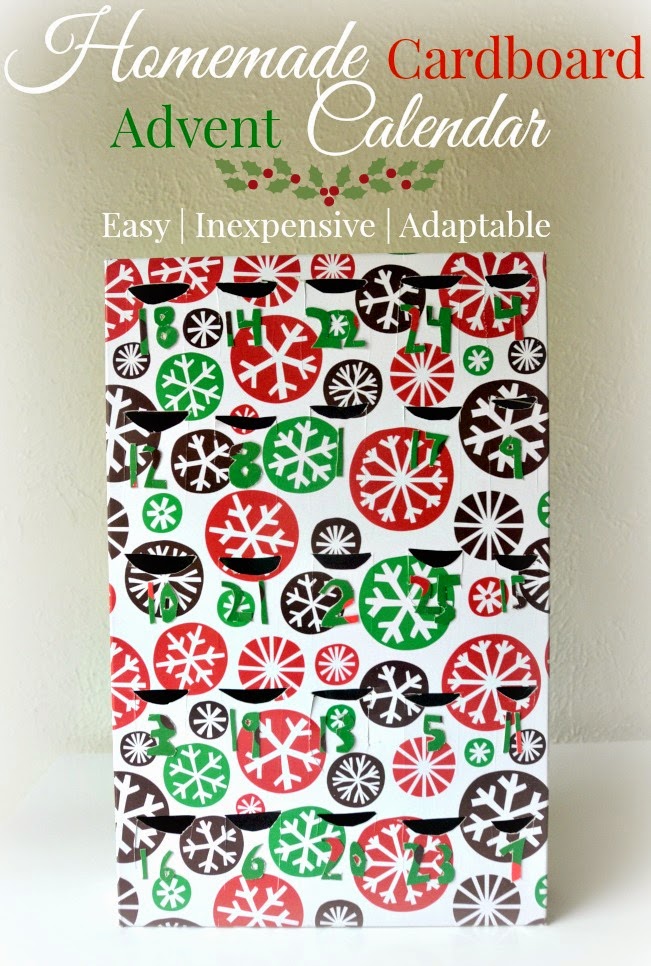
You have no idea how stoked I am to be posting about this homemade vegan advent calendar! On the first of December, social media sites are filled with people posting pictures of their advent calendars, and it usually leaves me feeling jealous and sad. Well never again!
For non-vegans, advent calendars are extremely easy to come by, and European vegans have reasonable access to Moo Free Dairy Free Advent Calendars. Unless we want to pay a premium, American vegans don’t have a lot of options. We could buy expensive wooden calendars and fill them, or make our own “special” calendars, but I’ve just never been down for that. I want a classic cardboard advent calendar that I can rip into just like when I was a kid.
First and foremost, I’m not a crafter. I can photograph food all day long, but crafts are a different story. My crafting process involves a lot of errors, redos, and patience. I can’t focus on taking gorgeous pics of the process. The plus side is that it goes to show how doable this homemade advent calendar is.
I think this came out perfectly for a first draft, but there are things I will do differently next year. Those changes will be noted along the way.
I think this came out perfectly for a first draft, but there are things I will do differently next year. Those changes will be noted along the way.
Needed
- Two 14 3/4″ X 9 1/2″ holiday themed shirt gift boxes (Mine came in a pack of three for under $3 at Target)
- A pencil
- A ruler
- Scissors
- An X-Acto Knife
- Scotch tape
- A glue stick
Directions
1. Pick which box top design you want to use for your numbers and set it aside.
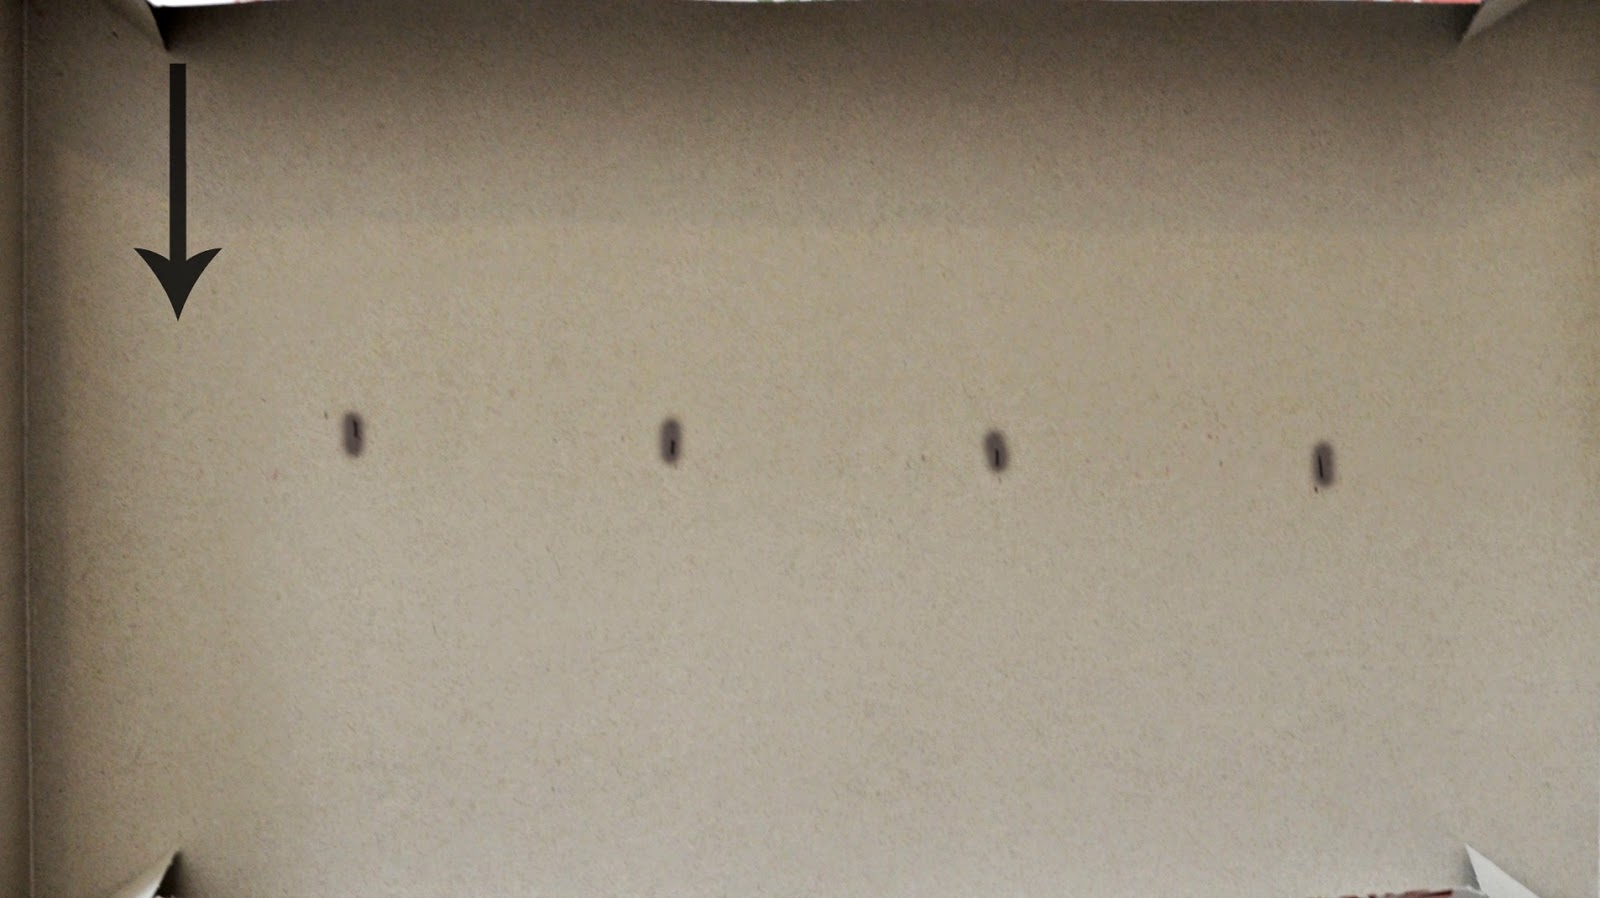
2. Take the white bottom of the box you’ve chosen to be you calendar body and pop it up. Going longways measure four 3″ long segments marking every 3″ with your pencil. One segment is going to be a little longer than the others (as shown with the arrow), but that’s ok.:
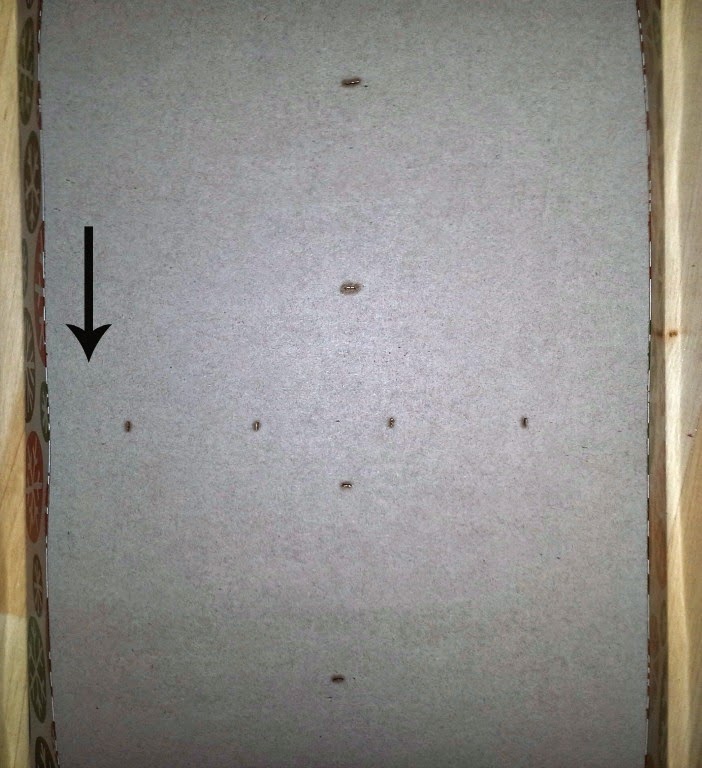
3. Going across the same box bottom measure four 2″ wide segments marking every 2″ with your pencil. One segment is going to be less wide than the others (as shown with the arrow), but that’s ok:
4. Set the marked box bottom aside, and get your other unmarked white box bottom. Dissemble it:
5. Cut off the folded up ends making sure to remove the flaps:
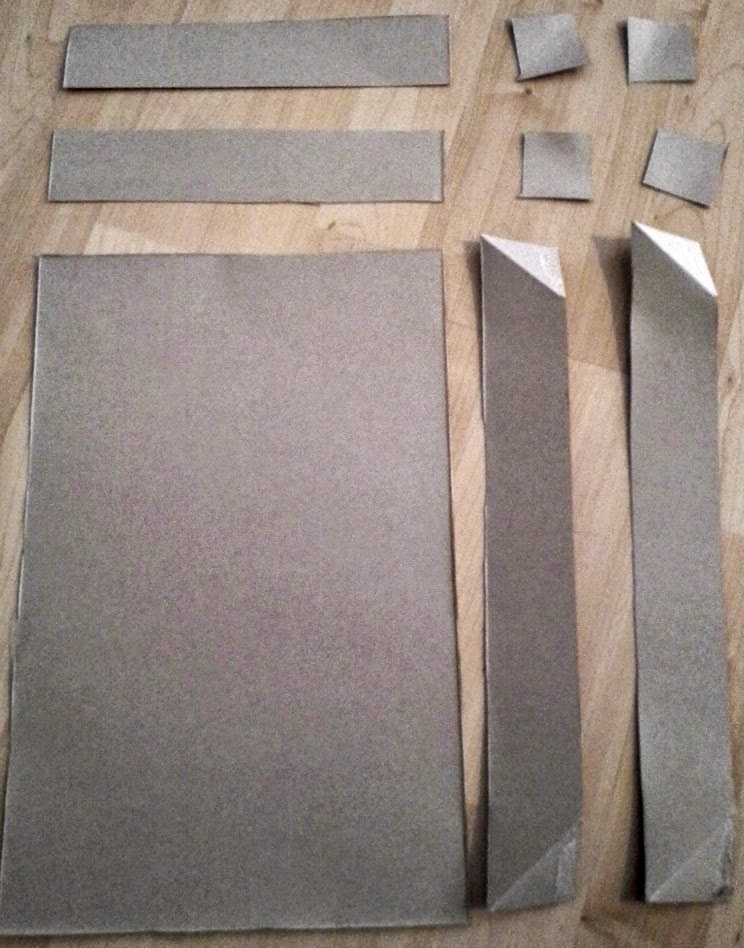
6. Use a long piece to trace two more long pieces on the box bottom. Do the same with a small piece. It’s important to do the long pieces first to ensure that you have enough room. Cut the pieces out:
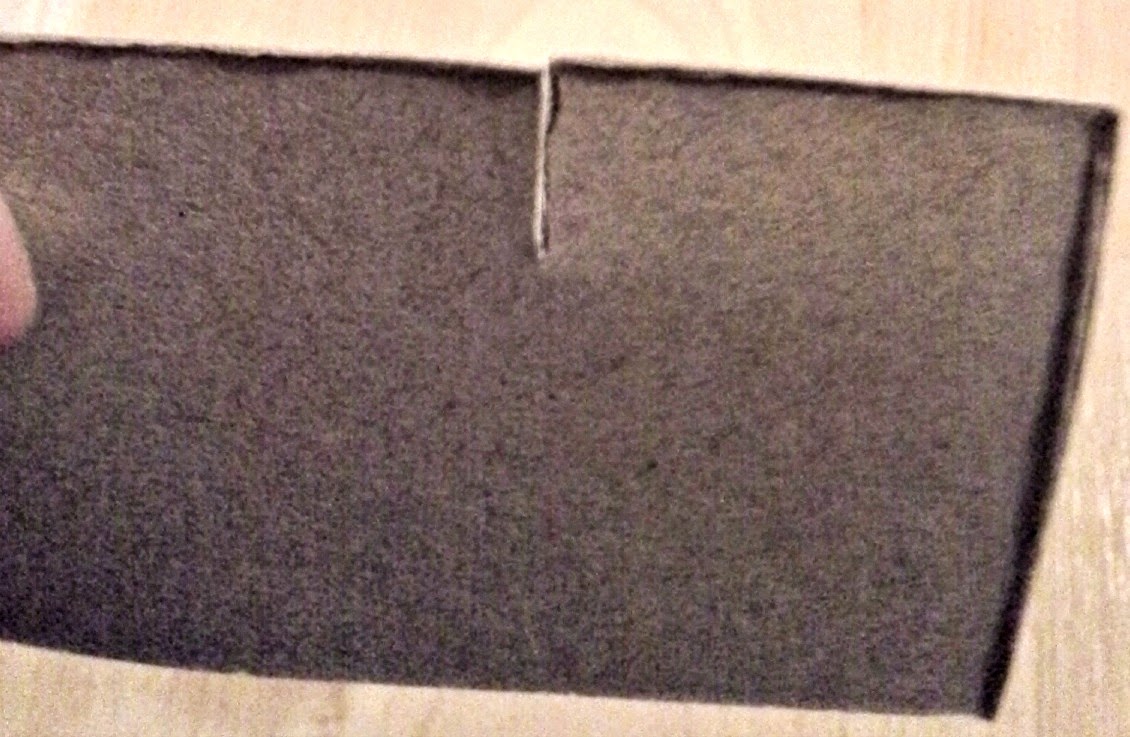
7. Take a long piece and measure four 3″ long segments marking every 3″ with your pencil. One segment is going to be a little longer than the others, but that’s ok. At the 3″ marks make another mark a 1/2 inch from the edge. On the opposite end of the mark draw a long straight line up to the 1/2 inch mark.
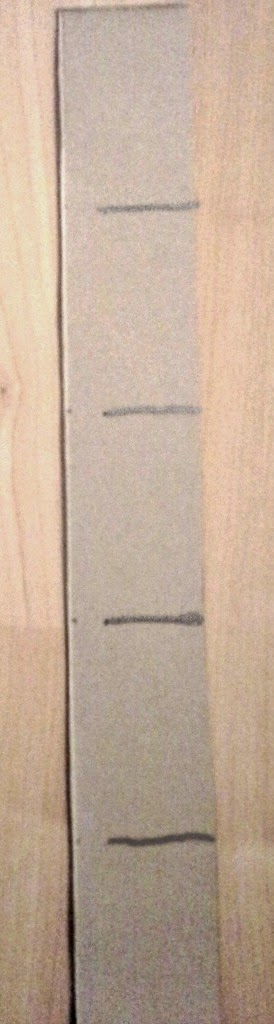
Cut the line all the way up to the 1/2 mark. Leave the 1/2 inch in tact:
8. Take a short piece and measure four 2″ long segments marking every 2″ with your pencil. One segment is going to be less wide than the others, but that’s ok. At the 2″ marks make another mark a 1/2 inch from the edge:
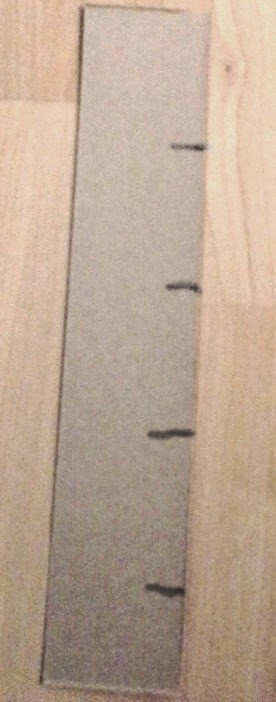
Cut up only to the 1/2 inch mark:
9. Time to assemble the segmented inside of your calendar: Remember those measured out segments on the long pieces that are longer? Make sure they’re all aligned before assembly. Same goes for the less wide segments on the smaller pieces. Insert the short pieces into the long pieces by intersecting the cut slits.:
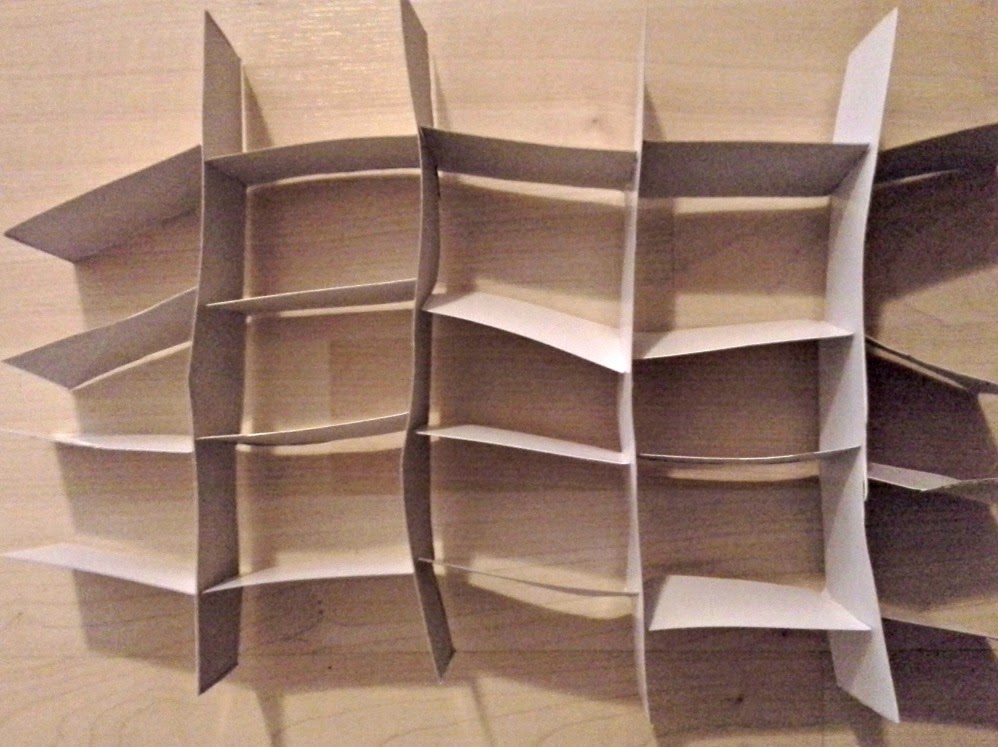
It’s ok if it looks a little crazy.
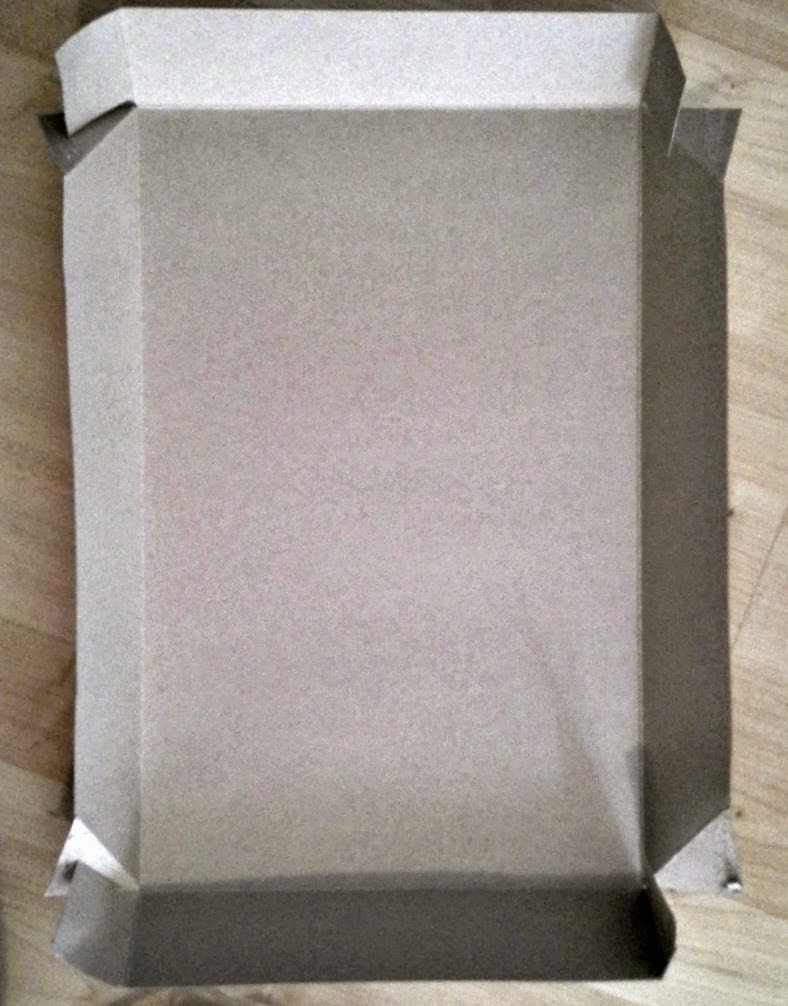
10. Now you’re going to place your insert in the marked box bottom you set aside. But again, remember those marks we made? Make sure to align the longer and less wide segments of the insert to the marks on the box.:
You can use some tape to keep the insert in place. You shouldn’t need anything stronger:
Set the calendar bottom aside. It’s time to work on the top.
11. Take the box top you’re using for your calendar. Make the exact same marks you made on the bottom only this time measure full lines instead of making marks.:
12. Make sure that the oddly measured segments on the top box are aligned with those on the bottom box. Now draw doors into each segment. The oblong shape on top is going to be the little window to pull.
13. Using an X-acto knife cut out the oblong shapes. Trace down the long sides of each door with an X-acto while pressing down, but not fully. You don’t want a full cut, but a partial cut will be enough to allow for easy tearing. Leave the bottom end in tact. *NOTE – I realize there are 25 doors, and advent calendars only have 24. Next year I’m going to combine 2 segments on the top and bottom of the calendar for a bigger treat on Christmas Eve.
14. To make the numbers use your X-acto knife to trace out numbers from the top of other box. Turn the calendar top over and glue the numbers onto each door with a gluestick. You can also make numbers using stickers or markers – whatever you prefer design wise. Attach the numbers carefully so that you don’t punch your doors open.:
*NOTE – Next year I will cut out white backgrounds for the numbers so that they’re easier to read and not as messy looking!
15. Place a small treat in each calendar segment:
We’re using Equal Exchange’s dark chocolate minis. I’m very strict about only buying fair trade chocolate so I’m very grateful for these little chocolates. They’re 5 for $1 at our Co-op!
16. Carefully put the top of your calendar over the bottom to close it. Again, remember to align the oddly measured segments of each piece.
17. Enjoy the start of your holiday season!
Let’s be friends! Follow HV on Facebook,Google+, Pinterest, Bloglovin‘, and Instagram! You can also get House Vegan posts delivered right to your inbox by clicking here!